Tutorial: Installing LinuxCNC


Installing LinuxCNC can be a challenge, especially for Linux newcomers. We show you how to install LinuxCNC on your PC in simple steps.
Installation options
There are 2 ways to install LinuxCNC on a PC: as a complete package or on a custom kernel. Installing on your own kernel offers more possibilities as you can freely choose your preferred Linux distribution, but it is a bit more complicated and requires some Linux experience. We will therefore concentrate on the installation as a complete package.
Requirements
- A suitable PC for LinuxCNC (no laptop or similar)
- A USB stick with at least 4GB storage space
- An internet connection
Download required files
First we need the LinuxCNC image. As described above, there are 2 variants, we choose the "Debian 12 Bookworm PREEMPT-RT ISO", which can be downloaded here.
To burn the image to the USB stick, we need an application called "Rufus", which can be downloaded from https://rufus.ie/de/. It does not matter whether you choose the portable or the installation version.
Burn image to USB stick
Attention: All files on the USB stick will be deleted during this process. Back up all important data beforehand.
To burn the image to the USB stick, we first start Rufus.
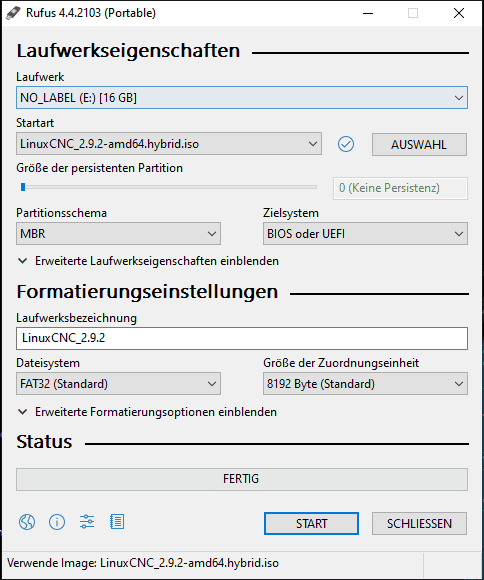
We first select our USB stick as the drive. Our LinuxCNC .iso file, which we downloaded in the previous step, is then selected. The rest can be left at the default settings. The burning process is then started with the "START" button. If further dialog boxes appear, these can be confirmed.
The burning process takes approx. 15 minutes. Once this has been completed, the window can be closed.
Installation on the new PC
The USB stick can then be inserted into the PC on which the system will be installed. To start the PC from the USB stick, the order in the boot menu must be changed. To access the boot menu, the appropriate button must be pressed directly after starting the PC. This depends on the mainboard, often it is the F12 key.
Under the menu item "Boot Device Priority", the stick is then set to the first position and saved. The PC then starts from the USB stick and a window for selecting the system opens. A live preview of LinuxCNC can then be started there, but we select the "Install" option. The installation tool will now open. During the installation, make sure that the PC is connected to the Internet, as the installer needs to download some files.
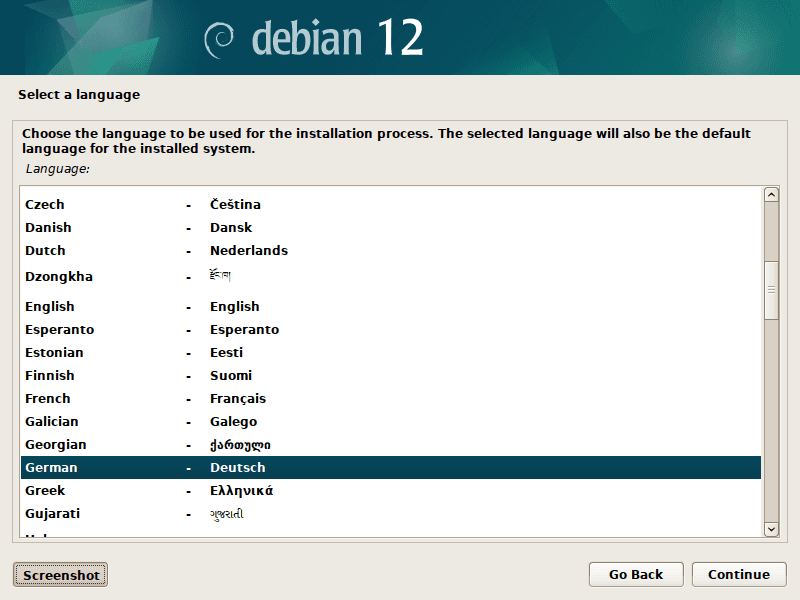
Now the language and country can be selected.
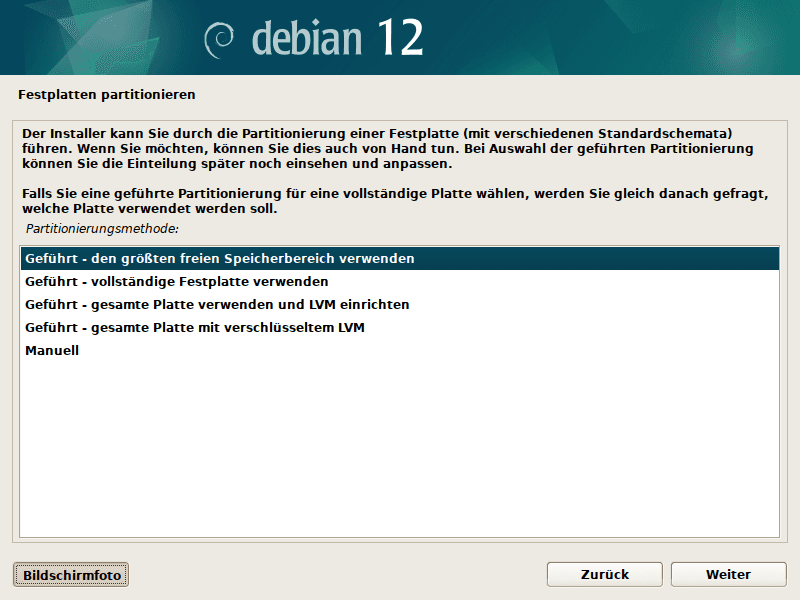
When partitioning, it makes sense to use the largest free memory area. Attention: all files on the hard disk will be deleted during this process.
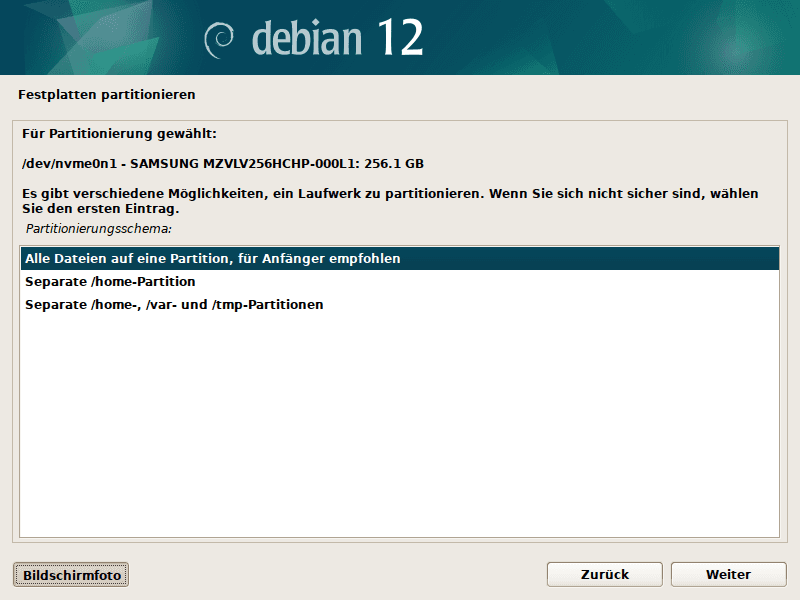
You can select "All files on one partition" as the partitioning scheme. The following dialogs can all be confirmed.
Now a user name with password must be assigned and a query about proxy servers appears, which can normally be left blank. The remaining dialogs are self-explanatory. The installation itself takes about 5 minutes.
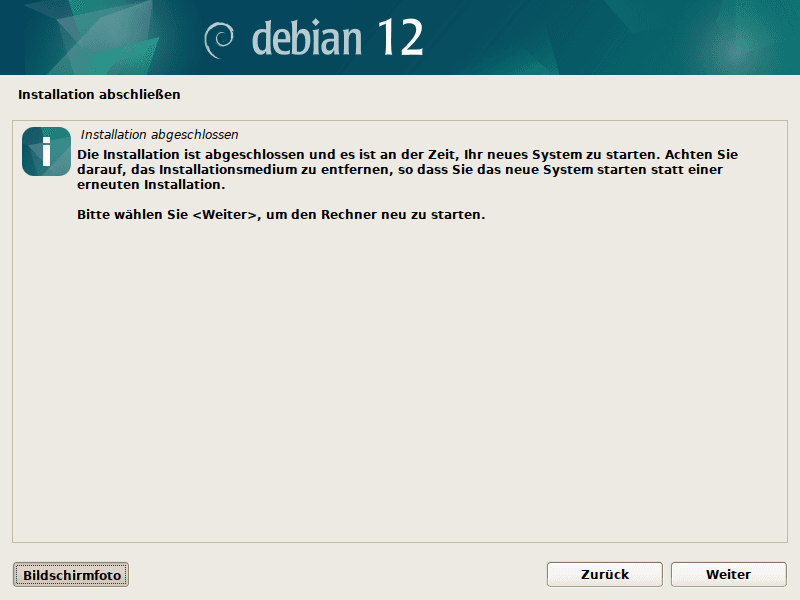
After the installation has been completed, the stick can be removed and the PC restarted.
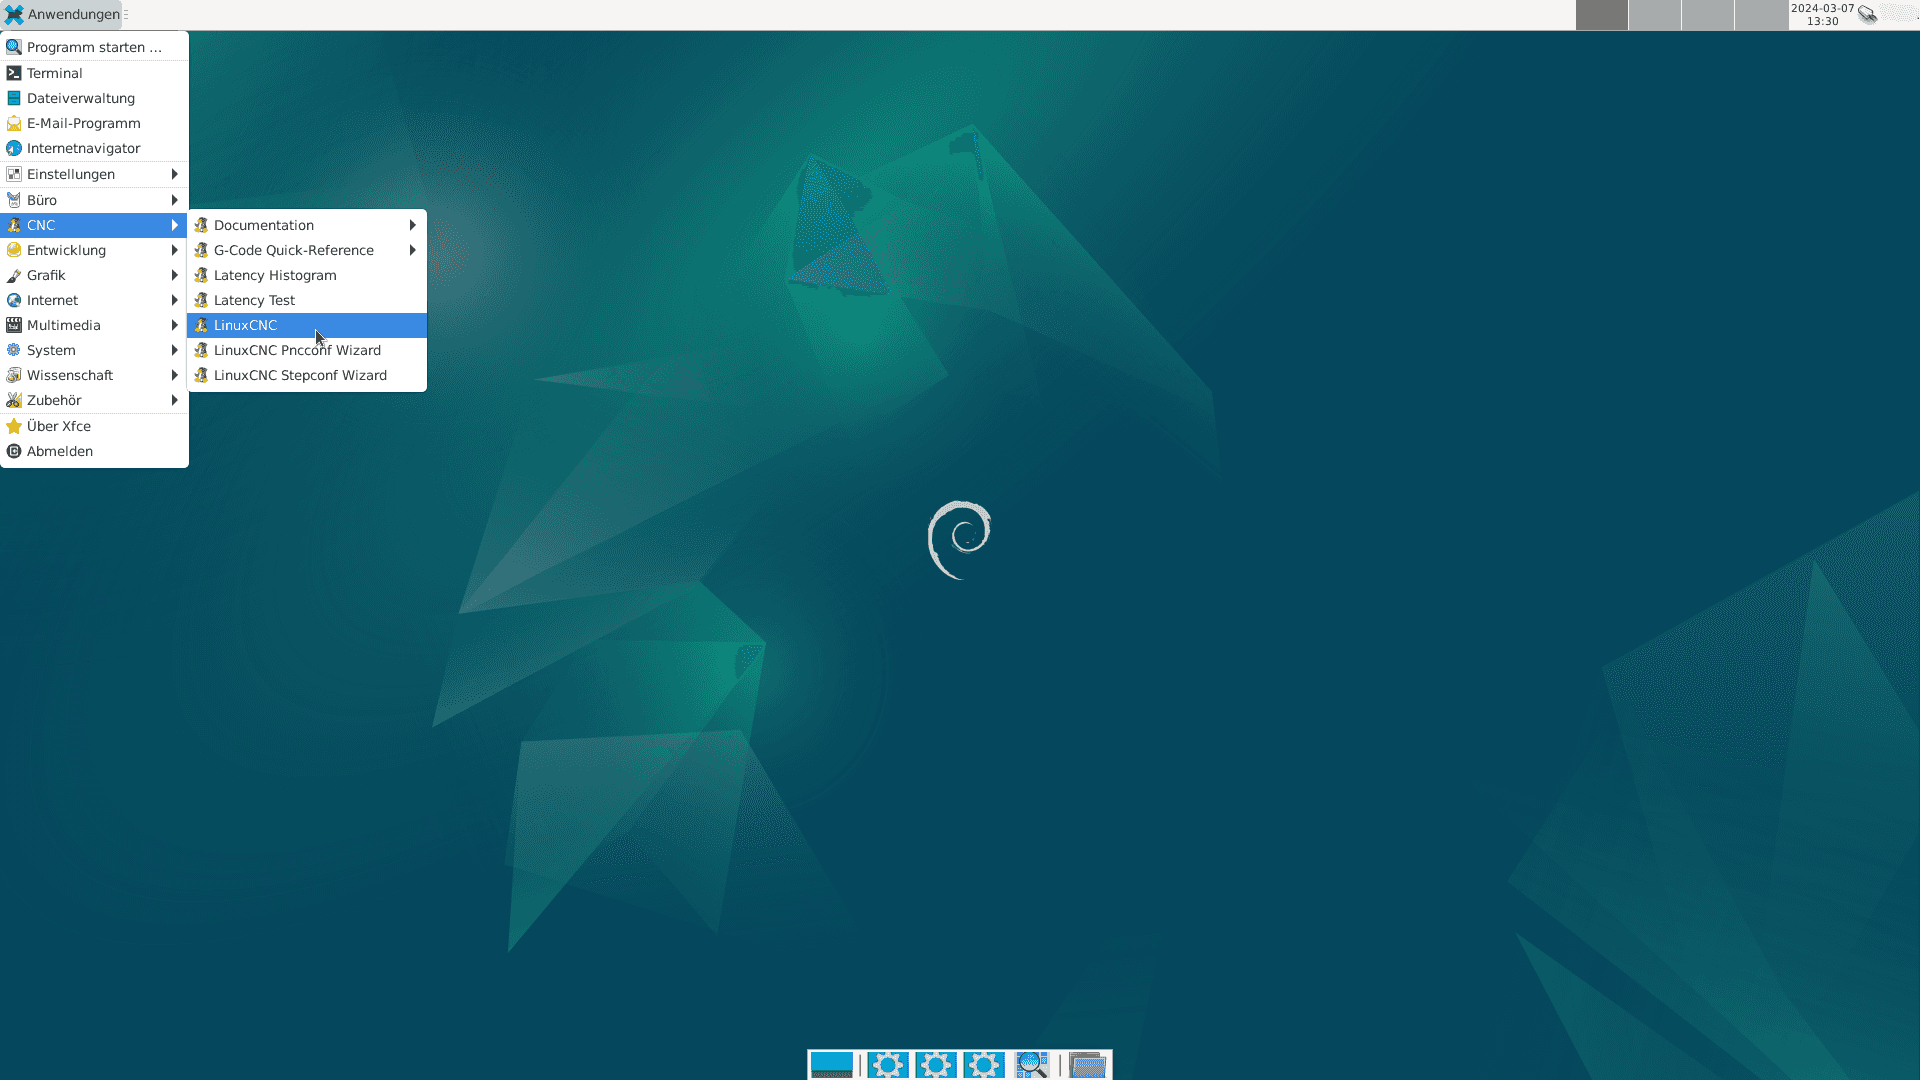
After the reboot, the desktop including the installed LinuxCNC should appear.
Testing the installation
To run LinuxCNC in simulation mode, first start the application and then select a simulator you want to try.
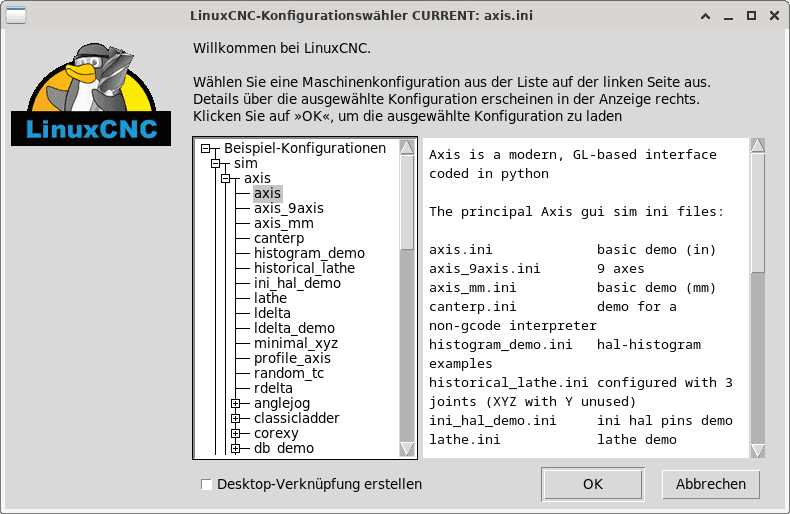
In our case we choose the standard axis simulator.
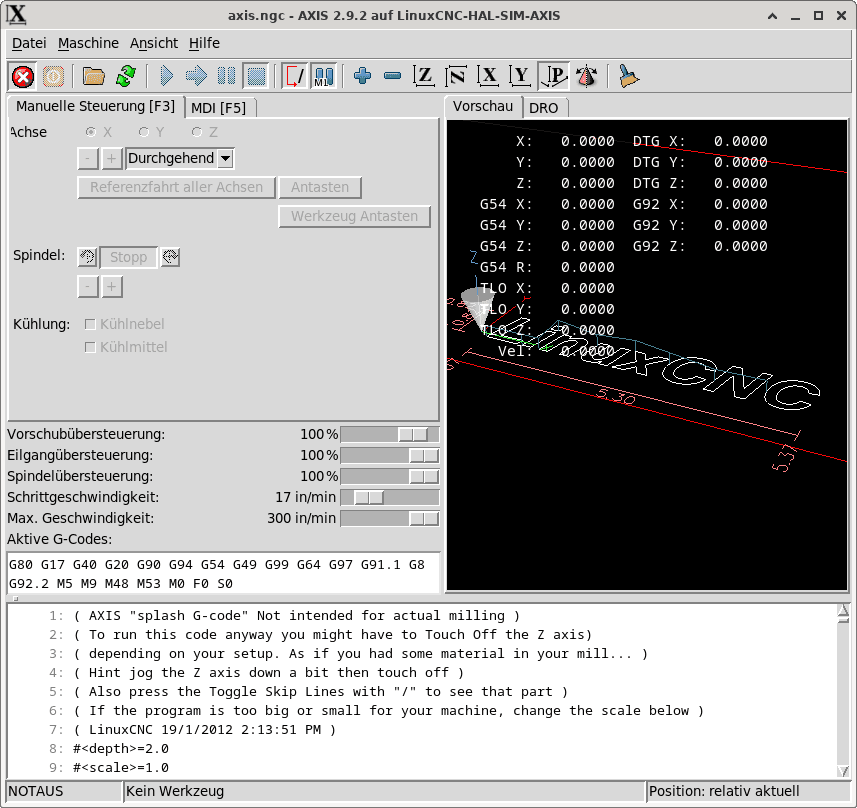
A graphical user interface should now appear and the program can be explored in simulator mode.
In order to integrate your own milling machine into the program, the corresponding .ini and .hal files must be configured. The pncconf and the stepconf wizard, both of which are installed with the LinuxCNC, can help with this.