3D Printed Moulds for Drills and Endmills


These 3D printed trays are an easy way to store drills, milling cutters and other small parts. They can be flexibly resized and are therefore suitable for any length. Using the parameter function in Fusion 360, they can be printed in any desired format so that the trays fit perfectly in any drawer.
Downloads
3D models can be downloaded here.
Customize using the parameter function in Fusion 360
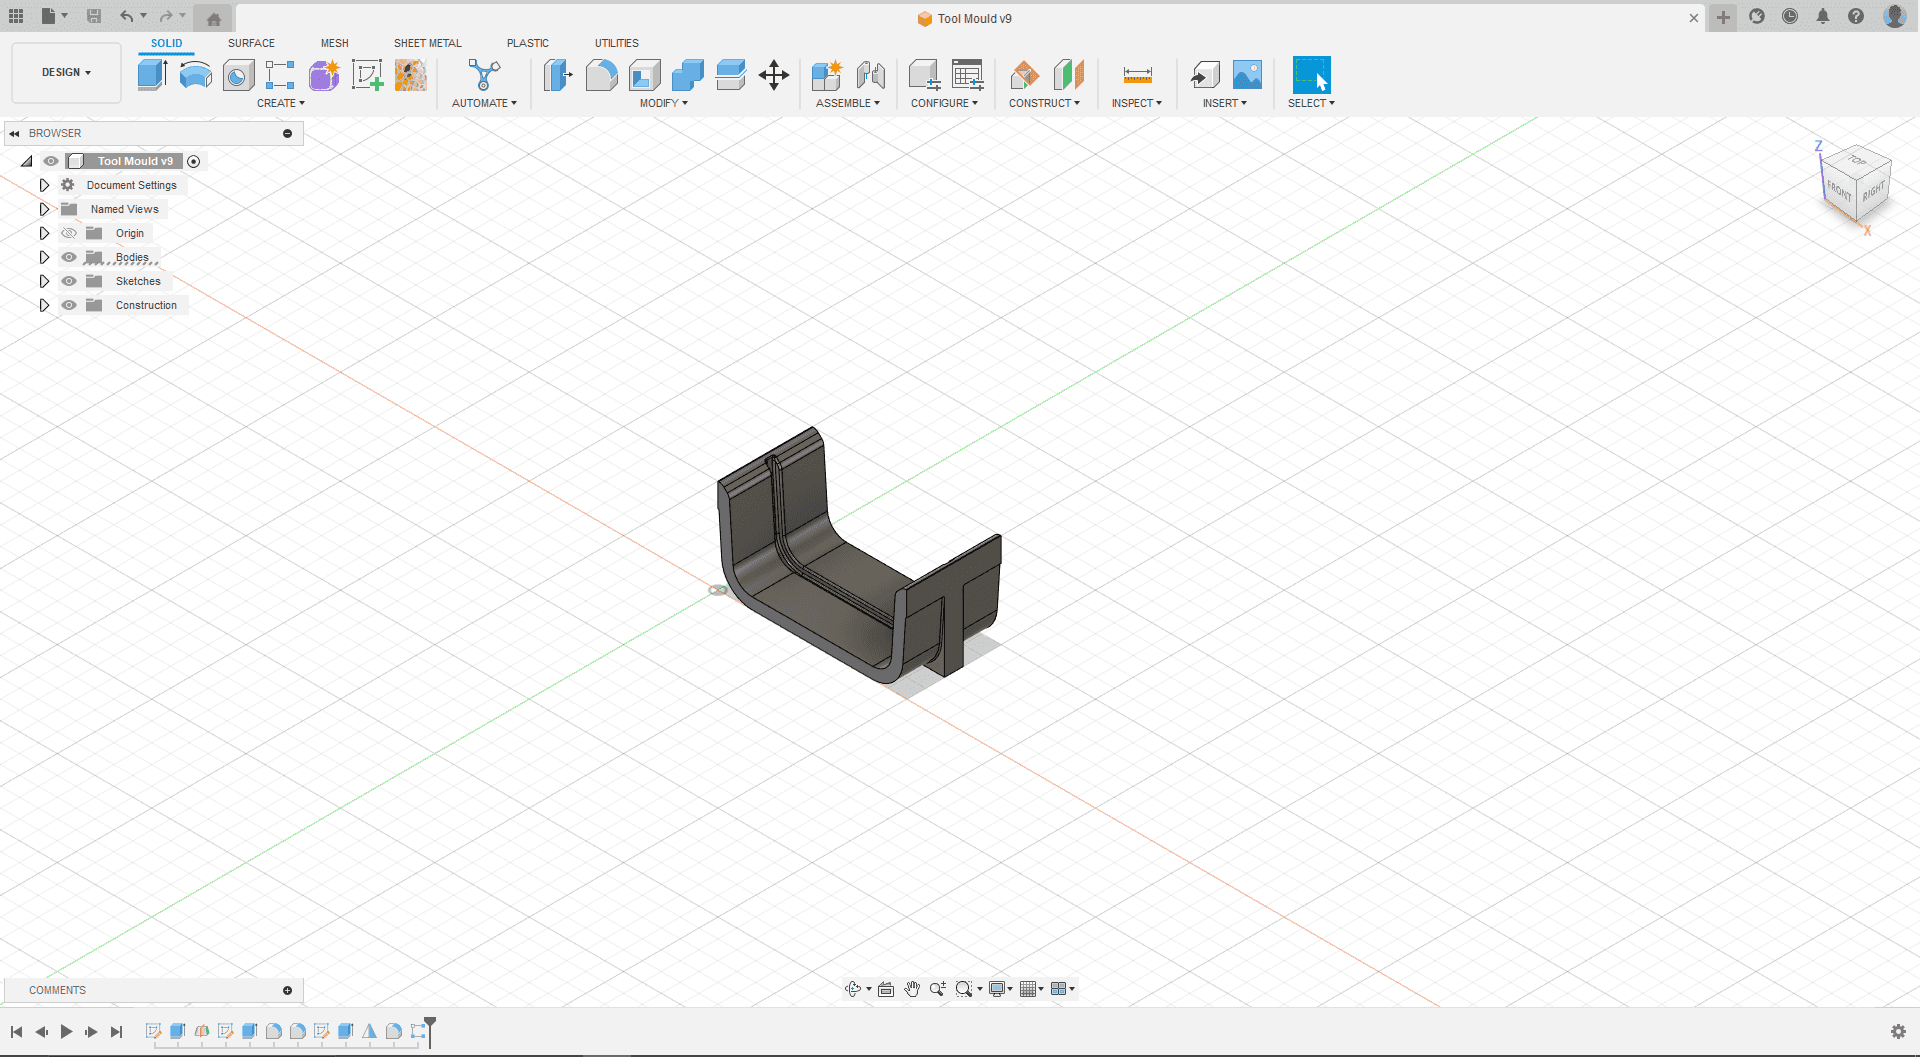
First open the .f3d file with Fusion 360. Now a single segment of the mould should be visible.
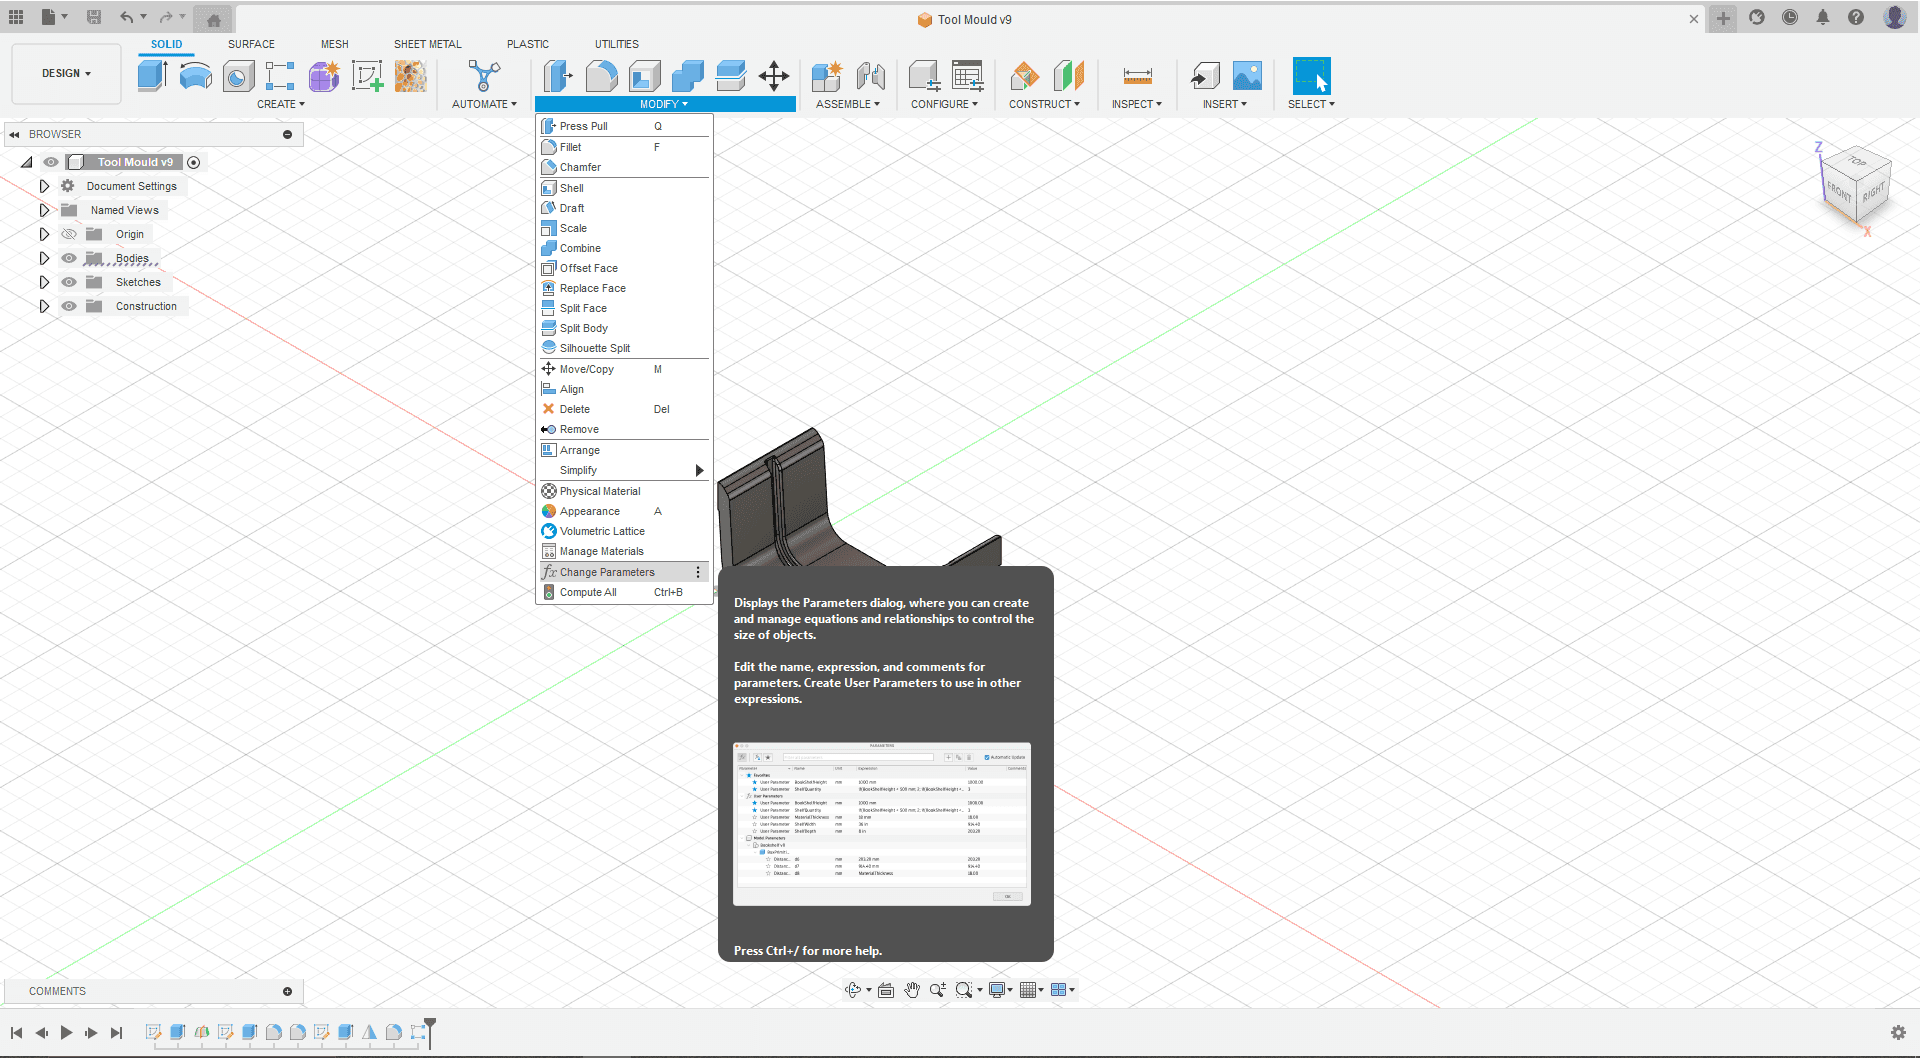
The overview of the parameters can then be opened via the Modify > Modify parameters tab.
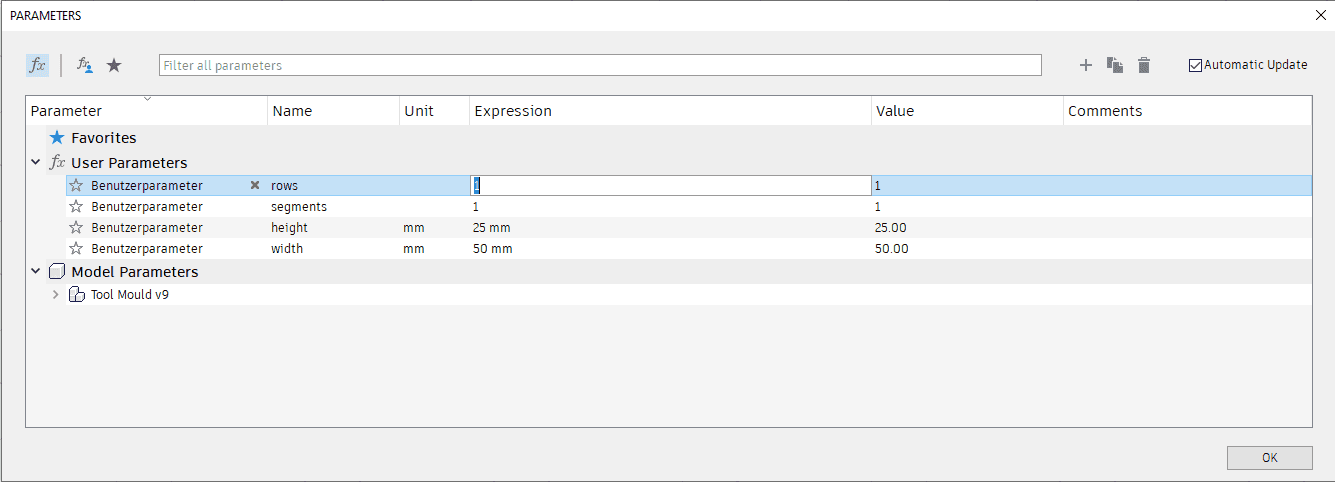
The two important parameters are segments and rows. The width and height can also be adjusted, but then the separators also need to be changed accordingly. After all parameters have been adjusted, the dialog can be closed with "Ok".
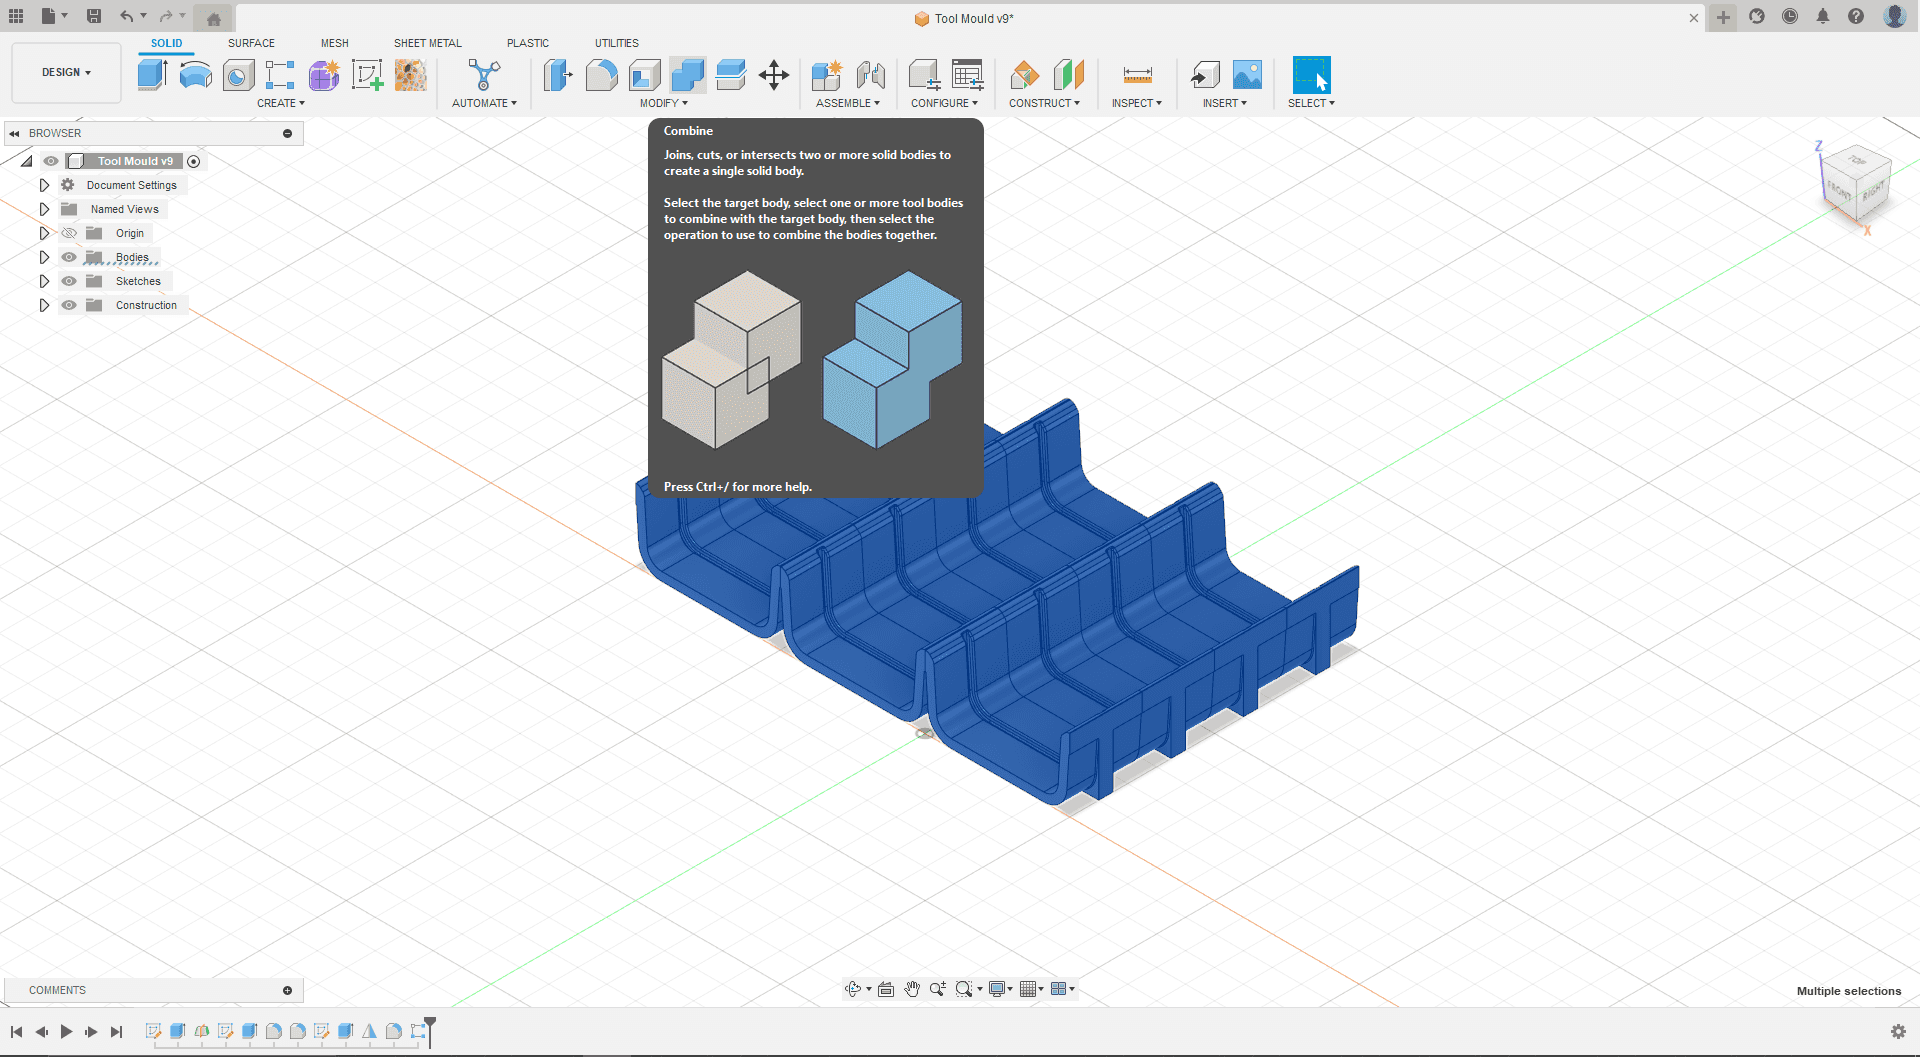
The finished result should now be visible.
However, the file still consists of many individual bodies. To be able to 3D print them, these bodies must be combined into one. To do this, select the entire hollow and combine it into one part using "Combine".
The part can then be exported as a .stl file and printed.